FEATURED PROJECT

the Saddle Creek house

the Saddle Creek house

the Saddle Creek house

BIRMINGHAM, ALABAMA

A whole-house renovation drawn from a laser scan of the existing house: a new covered porch and entry, a relocated stair, an opened main level, a new kitchen and master suite, and a finished basement.

A whole-house renovation drawn from a laser scan of the existing house: a new covered porch and entry, a relocated stair, an opened main level, a new kitchen and master suite, and a finished basement.

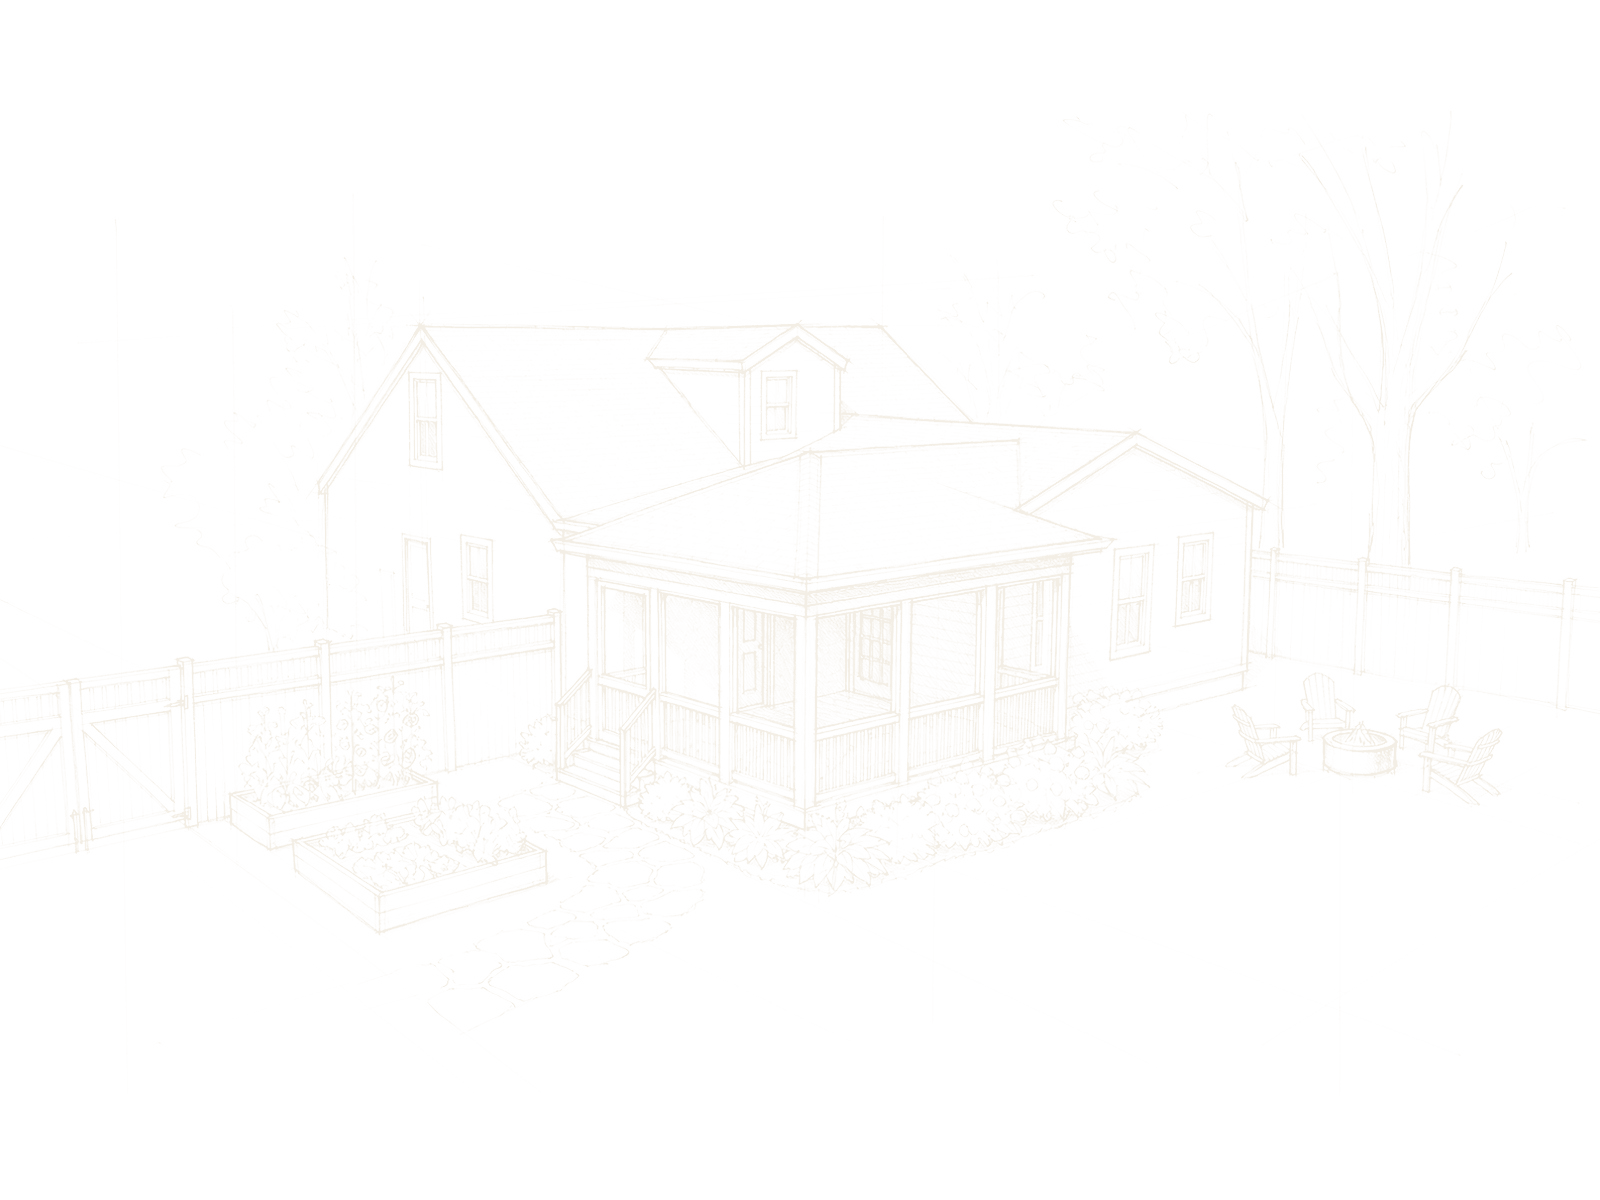
Working sketch of the Saddle Creek house rear porch, new work in dark ink
Plumb seal, a drawn plumb bob in a circle
Working sketch of the Saddle Creek house rear porch, new work in dark ink

THE HOUSE AS FOUND

Photograph of the rear of the existing house and its deck, from the drone survey

Existing conditions, rear, from the drone survey

Measured plan of the existing first floor

Existing conditions plan, first floor

Drawing of the rear elevation of the house

Rear elevation study

Photograph of the existing living room with exposed trusses and a loft above

Existing living room

Photograph of the existing oak stair

Existing stair

Working drawing of the Saddle Creek house rear

THE MOVES

Rear porch

DESIGN MOVES

1

Extend the existing gable outward to create a new covered rear porch.

2

Use stone bases and substantial timber brackets to give the new posts visual weight.

3

Keep the existing deck, replacing the railing and making targeted repairs before restaining.

AS FOUND

DESIGNED

Living

DESIGN MOVES

1

Remove the large existing cabinet to reclaim the center of the room.

2

Restain floors, beams, and columns to deep walnut, then box the beams in new millwork.

3

Widen the transoms above the fixed windows to draw natural light deeper inside.

4

Use drywall infill between columns to define the dining room and master-suite hall.

AS FOUND

DESIGNED

Stairs and entry

DESIGN MOVES

1

Relocate the main stair to open the view from the foyer through the heart of the home.

2

Remove the large built-in cabinet so the entry sequence feels generous and connected.

3

Use plain vertical black metal pickets with wood posts at the loft guardrail.

4

Carve the wine cellar beneath the relocated basement stair.

AS FOUND

DESIGNED

Kitchen

DESIGN MOVES

1

Move the range from the island to the pantry wall to maximize prep space.

2

Center a white marble waterfall island with raised seating and an integrated sink.

3

Disguise the pantry door as cabinetry to preserve a clean elevation.

4

Box the existing horizontal beams in finished millwork.

5

Restain floors, beams, and columns to a dark espresso walnut.

6

Rework the refrigerator cabinets for open shelving and a new backsplash.

AS DRAWN

DESIGNED

Working sketch of a house drawn in light lines

OPTIONS AND DRAWINGS

Rendering, pool house option
Rendering, pool courtyard option
Rendering, site, aerial
Rendering, site, preliminary
Drawing, basement plan
Rendering, basement theatre
Rendering, master suite
Working sketch of the Saddle Creek house, new work in dark ink (rear porch)
Rendering, master suite, oblique view
Rendering, dining, dark floor option
Drawing, first floor plan
Rendering, dining
Rendering, entry and stair, dark floor option
Rendering, exterior front, wide
Rendering, exterior front
Drawing, second floor plan
Working sketch of the Saddle Creek house, new work in dark ink (front)
Rendering, rear porch option
Rendering, fireplace
Rendering, fireplace, dark floor option
Rendering, Jack and Jill bath
Drawing, tapered column base detail
Rendering, kitchen island
Rendering, kitchen island, no glass option one
Rendering, kitchen island, no glass option two
Working sketch of the Saddle Creek house, new work in dark ink (pool courtyard option)
Rendering, kitchen
Drawing, front elevation
Rendering, kitchen, no glass option
Rendering, kitchen, dark floor and no glass option
Rendering, kitchen, dark floor option
Rendering, living, dark floor option
Drawing, north elevation
Rendering, master bath
Working sketch of the Saddle Creek house, new work in dark ink (site)
Rendering, master bath vanity
Rendering, master closet
Rendering, master closet, open dressing room option
Drawing, porch section
Rendering, wine cellar
Rendering, rear porch without fireplace
Rendering, rear porch with fireplace
Rendering, upstairs bath option
Working sketch of the Saddle Creek house, new work in dark ink (pool house option)
Rendering, upstairs bath, pink palette option
Rendering, exterior front, cover
Rendering, stair and loft
Rendering, pool house option
Rendering, pool courtyard option
Rendering, site, aerial
Rendering, site, preliminary
Drawing, basement plan
Rendering, basement theatre
Rendering, master suite
Working sketch of the Saddle Creek house, new work in dark ink (rear porch)
Rendering, master suite, oblique view
Rendering, dining, dark floor option
Drawing, first floor plan
Rendering, dining
Rendering, entry and stair, dark floor option
Rendering, exterior front, wide
Rendering, exterior front
Drawing, second floor plan
Working sketch of the Saddle Creek house, new work in dark ink (front)
Rendering, rear porch option
Rendering, fireplace
Rendering, fireplace, dark floor option
Rendering, Jack and Jill bath
Drawing, tapered column base detail
Rendering, kitchen island
Rendering, kitchen island, no glass option one
Rendering, kitchen island, no glass option two
Working sketch of the Saddle Creek house, new work in dark ink (pool courtyard option)
Rendering, kitchen
Drawing, front elevation
Rendering, kitchen, no glass option
Rendering, kitchen, dark floor and no glass option
Rendering, kitchen, dark floor option
Rendering, living, dark floor option
Drawing, north elevation
Rendering, master bath
Working sketch of the Saddle Creek house, new work in dark ink (site)
Rendering, master bath vanity
Rendering, master closet
Rendering, master closet, open dressing room option
Drawing, porch section
Rendering, wine cellar
Rendering, rear porch without fireplace
Rendering, rear porch with fireplace
Rendering, upstairs bath option
Working sketch of the Saddle Creek house, new work in dark ink (pool house option)
Rendering, upstairs bath, pink palette option
Rendering, exterior front, cover
Rendering, stair and loft

THE RESULT

Rendering of the front of the house with a new covered porch

Exterior front

Rendering, exterior front

Rendering of the front of the house with a new covered porch

Exterior front

Rendering, exterior front

Rendering of the front of the house with a new covered porch

Exterior front

Rendering, exterior front

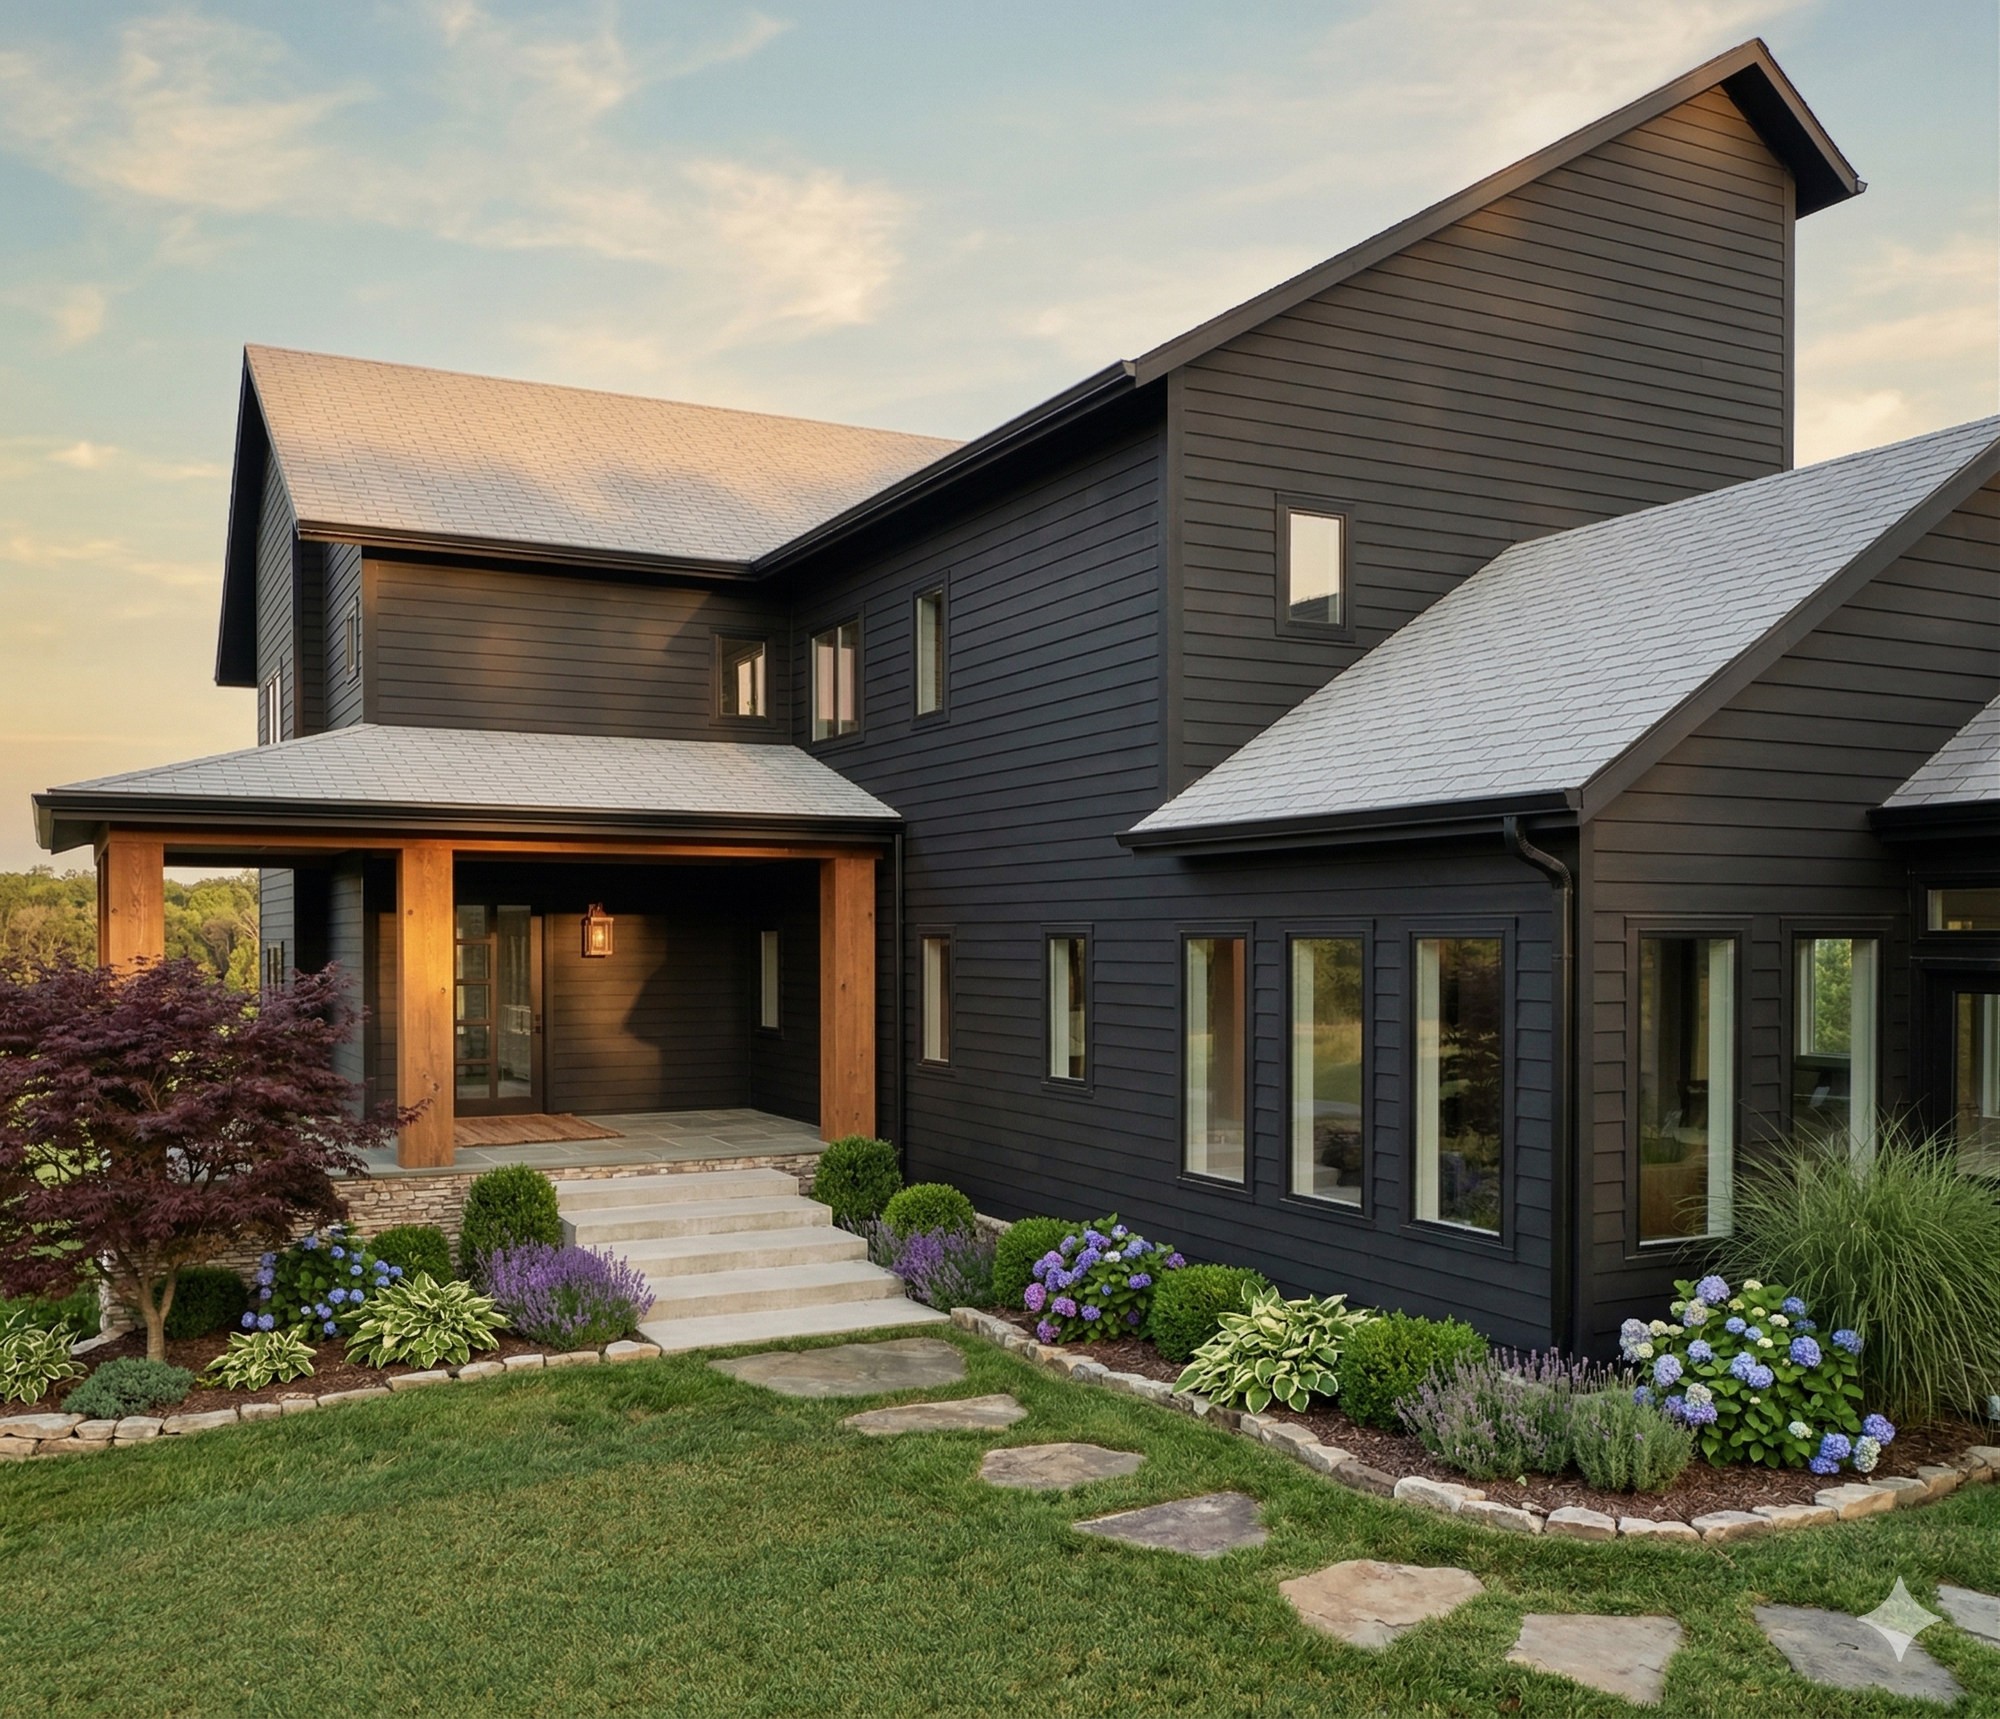
The exterior is the finish the house has been waiting for. Existing wood siding is repainted, with new sections matched to the original profile, new stone veneer at the foundation, and a rebuilt covered front porch. Stone-wrapped column bases and a decorative garage truss give the composition a calm, considered presence.

DESIGN MOVES

1

Remove the raised front deck and raise the grade for a more seamless entry.

2

Anchor the arrival with a covered porch, large timber columns, and a new front door.

3

Repaint the existing siding, match new sections, and replace the nine transom windows.

4

Repurpose the salvaged pantry window in the foyer and echo the rear porch timber at the garage.

Rendering of the kitchen with a marble waterfall island

Kitchen

Rendering, kitchen

Rendering of the kitchen with a marble waterfall island

Kitchen

Rendering, kitchen

Rendering of the kitchen with a marble waterfall island

Kitchen

Rendering, kitchen

A carefully planned renovation turns the kitchen into a purposeful family workspace. The range moves to the new pantry wall beneath a generous hood. A white marble waterfall island takes center stage with raised seating and an integrated sink, while bright cabinetry and deep walnut woodwork create a tranquil, ordered contrast.

DESIGN MOVES

1

Move the range from the island to the pantry wall to maximize prep space.

2

Center a white marble waterfall island with raised seating and an integrated sink.

3

Disguise the pantry door as cabinetry to preserve a clean elevation.

4

Box the existing horizontal beams in finished millwork.

5

Restain floors, beams, and columns to a dark espresso walnut.

6

Rework the refrigerator cabinets for open shelving and a new backsplash.

MATERIALS

White marble

Dark walnut floor

Brass hardware

Rendering of the kitchen island and raised seating

Rendering, kitchen island

Rendering of the master bedroom with the bed centered between the rear windows

Master suite

Rendering, master suite

Rendering of the master bedroom with the bed centered between the rear windows

Master suite

Rendering, master suite

Rendering of the master bedroom with the bed centered between the rear windows

Master suite

Rendering, master suite

The master suite is refined for calm and function. The bed is centered between the rear windows, and the bath door opens from the bedroom rather than the hall. The closet becomes an open dressing room around a central drawer island, with perimeter built-ins and an integrated vanity.

DESIGN MOVES

1

Anchor the bed to the rear wall, centered between the windows.

2

Rework the closet as an open dressing room around a full-depth drawer island.

3

Restain the existing hardwood to the same deep walnut used across the main level.

4

Add a tray ceiling, wainscot panels, crown, and casing for a calm, layered finish.

Rendering of the open dressing room with a drawer island

Rendering, dressing room

Rendering of the master bath wet room with a soaking tub

Master bath

Rendering, master bath

Rendering of the master bath wet room with a soaking tub

Master bath

Rendering, master bath

Rendering of the master bath wet room with a soaking tub

Master bath

Rendering, master bath

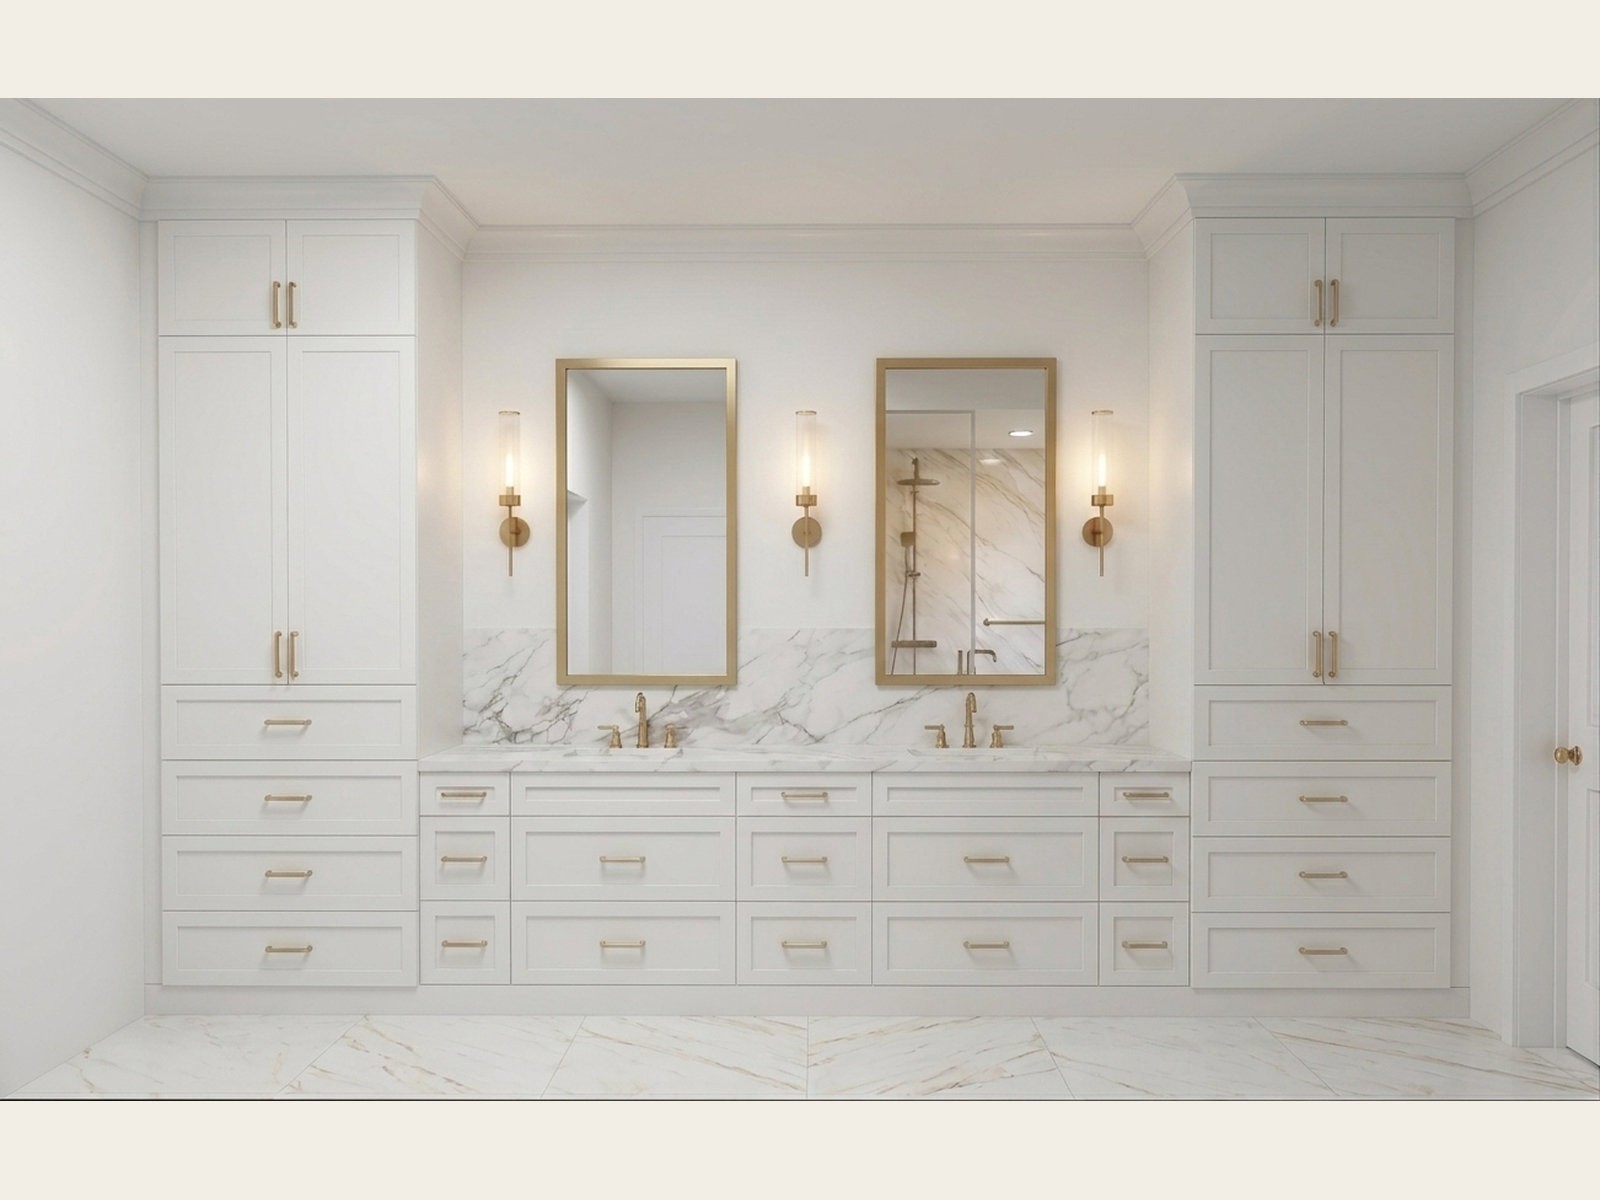
The master bath is rebuilt as a continuous marble wet room. A free-standing soaking tub and rainfall shower with body jets share one space behind a frameless glass enclosure to the ceiling. A floor-to-ceiling vanity wall with dual sinks, wide drawers, and linen towers anchors the opposite side.

DESIGN MOVES

1

Create a full 72 by 84 inch wet room for the soaking tub, ceiling shower, and body jets.

2

Build a floor-to-ceiling vanity wall with dual sinks, wide drawers, and linen towers.

3

Wrap walls and ceiling in soft Calacatta marble, with hex mosaic in the shower bay.

Rendering of the master bath vanity wall with dual sinks

Rendering, vanity wall

Rendering of the Jack-and-Jill bath

Secondary baths

Rendering, secondary bath

Rendering of the Jack-and-Jill bath

Secondary baths

Rendering, secondary bath

Rendering of the Jack-and-Jill bath

Secondary baths

Rendering, secondary bath

The upstairs bathrooms carry the same finish level as the master suite. Existing tub inserts are removed and each room is fully tiled. Individual palettes give every bath its own identity, while the former upstairs master bath becomes a Jack-and-Jill and the bedrooms realign with their corresponding bathrooms.

DESIGN MOVES

1

Turn the existing master bedroom into a bonus room overlooking the future pool.

2

Give the girls’ bath a soft pink palette, tall storage, and refined hardware.

3

Use dark green and textured tile, black hardware, and white cabinetry in the boys’ bath.

4

Remove every tub insert and fully tile each bathroom.

Rendering of an upstairs bath with a soft pink palette

Rendering, upstairs bath

Rendering of the basement theatre

Basement

Rendering, theatre

Rendering of the basement theatre

Basement

Rendering, theatre

Rendering of the basement theatre

Basement

Rendering, theatre

The basement becomes the amenity level. The theatre is the signature feature, a destination for entertaining and a reward for the scale of the renovation. The floor also carries a gym, gym bath, infrared sauna, utility, and storage, with the garage held in its own portion of the footprint.

DESIGN MOVES

1

Create a dedicated theatre with a finished ceiling and controlled lighting.

2

Remove the gym-bath tub insert and tile the room throughout.

3

Integrate an infrared sauna into the basement footprint.

4

Organize utility, storage, and garage space around the amenity rooms.

Rendering of the wine cellar

Rendering, wine cellar

DESIGN BOOK

01 / 10

Click or drag the pages to turn. Ten spreads, drawn from the existing house.

Every project starts with a conversation about the house you have and the home you want.

START A CONVERSATION

Plumb Home Design · plumbdesign.studio · (205) 565‑5771

1957 Hoover Ct, Hoover, AL 35226 · est. 2022

Serving Birmingham, Alabama and Middle Tennessee